DIY Car Maintenance: Simple Tasks You Can Do at Home
Maintaining your car is crucial for its longevity and performance. While many people think that car maintenance requires a visit to the mechanic, there are several tasks you can easily do at home. Not only does DIY car maintenance save money, but it also helps you understand your vehicle better. Here’s a comprehensive guide to simple car maintenance tasks you can tackle yourself.
1. Changing the Oil
Why It’s Important:
Changing your car’s oil is one of the most essential maintenance tasks. Fresh oil keeps your engine lubricated, reduces friction, and prevents overheating.
How to Do It:
- Gather Supplies: You’ll need fresh oil, an oil filter, a wrench, a funnel, an oil pan, and gloves.
- Warm Up the Engine: Run your car for a few minutes to warm up the oil. Warm oil drains more easily.
- Lift the Car: Use a jack to lift the car and secure it with jack stands.
- Drain the Old Oil: Place the oil pan under the drain plug, remove the plug, and let the old oil drain out.
- Replace the Oil Filter: Remove the old oil filter and install a new one.
- Add New Oil: Replace the drain plug, lower the car, and pour in the new oil using a funnel.
Tips:
- Check the oil level with the dipstick to ensure it’s at the correct level.
- Dispose of the old oil properly by taking it to a recycling center.
2. Replacing Air Filters
Why It’s Important:
A clean air filter ensures your engine gets enough clean air, which improves fuel efficiency and performance.
How to Do It:
- Locate the Air Filter Box: It’s usually a black box near the top of the engine.
- Open the Box: Unclip or unscrew the box to access the air filter.
- Replace the Filter: Remove the old filter and insert the new one. Make sure it’s seated properly.
- Close the Box: Secure the box by clipping or screwing it back in place.
Tips:
- Check your owner’s manual to find out how often the air filter should be replaced.
- Consider upgrading to a high-performance air filter for better airflow.
3. Checking and Replacing Spark Plugs
Why It’s Important:
Spark plugs are crucial for starting your engine and keeping it running smoothly. Worn-out spark plugs can cause misfires, poor fuel economy, and difficulty starting.
How to Do It:
- Gather Supplies: You’ll need new spark plugs, a spark plug socket, and a ratchet.
- Locate the Spark Plugs: They are usually found on the top or side of the engine, connected to thick wires.
- Remove the Old Plugs: Pull off the spark plug wire, use the spark plug socket and ratchet to unscrew and remove the old plug.
- Install New Plugs: Screw in the new spark plug by hand to avoid cross-threading, then tighten with the socket and ratchet. Reattach the spark plug wire.
Tips:
- Check your owner’s manual for the correct type of spark plugs for your car.
- Replace spark plugs one at a time to avoid mixing up the wires.
4. Changing Wiper Blades
Why It’s Important:
Good visibility is essential for safe driving. Worn-out wiper blades can leave streaks and reduce visibility during rain or snow.
How to Do It:
- Lift the Wiper Arm: Pull the wiper arm away from the windshield until it stays in the upright position.
- Remove the Old Blade: Press the small tab on the underside of the wiper blade to release it from the wiper arm.
- Install the New Blade: Attach the new wiper blade by sliding it onto the wiper arm until it clicks into place.
Tips:
- Replace wiper blades every six months to a year, or as soon as they show signs of wear.
- Clean the windshield and wiper blades regularly to prevent streaking.
5. Checking Tire Pressure and Tread
Why It’s Important:
Proper tire pressure ensures a smooth ride, improves fuel efficiency, and prolongs tire life. Adequate tread depth is crucial for traction and safety.
How to Do It:
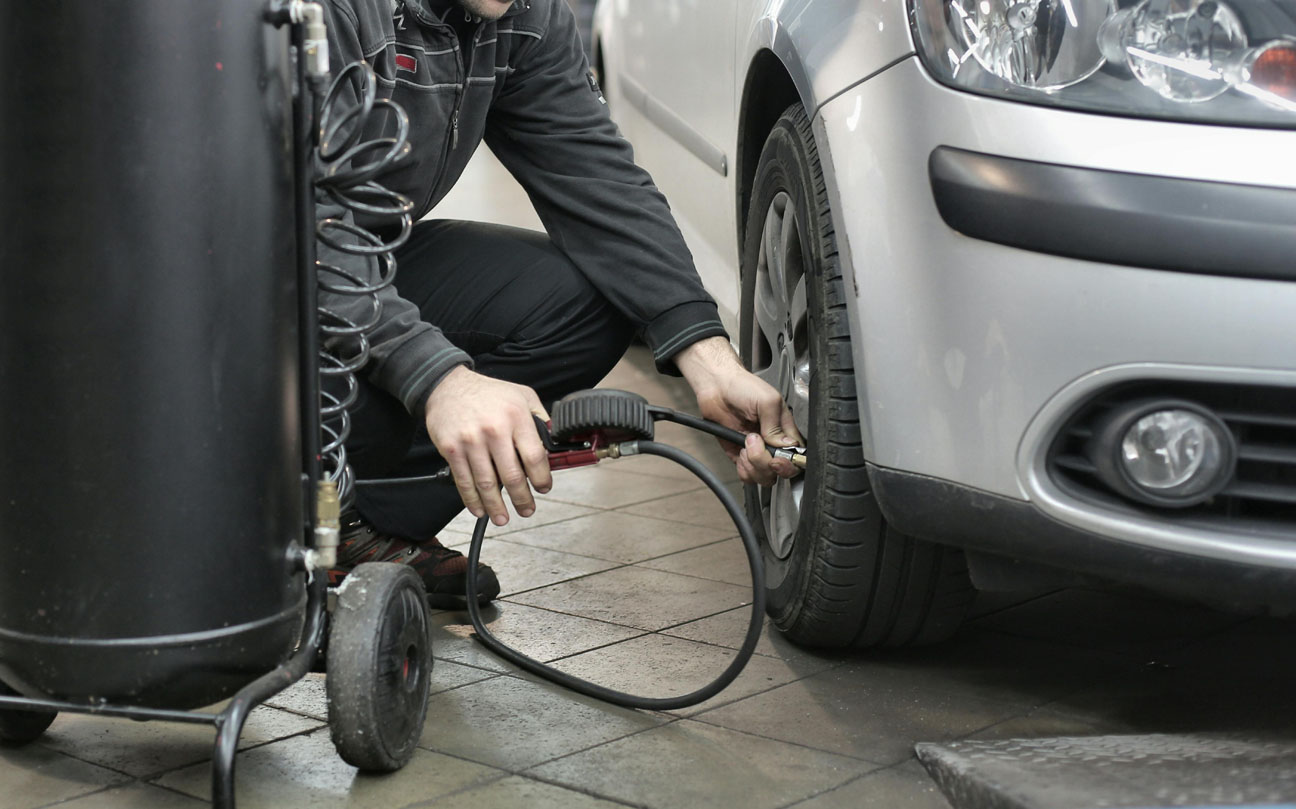
- Check Tire Pressure: Use a tire pressure gauge to check the pressure of each tire, including the spare. Compare it to the recommended pressure listed in your owner’s manual or on the driver’s doorjamb.
- Inflate Tires: If the pressure is low, use an air compressor to inflate the tires to the correct pressure.
- Check Tread Depth: Insert a penny into the tire tread with Lincoln’s head facing down. If you can see the top of Lincoln’s head, it’s time to replace the tires.
Tips:
- Check tire pressure at least once a month and before long trips.
- Rotate your tires every 6,000 to 8,000 miles to ensure even wear.
6. Replacing Brake Pads
Why It’s Important:
Worn brake pads can compromise your car’s braking performance, making it dangerous to drive.
How to Do It:
- Gather Supplies: You’ll need new brake pads, a jack, jack stands, a lug wrench, a C-clamp, and a wrench set.
- Lift the Car: Use a jack to lift the car and secure it with jack stands. Remove the wheels with a lug wrench.
- Remove the Caliper: Use a wrench to remove the caliper bolts and slide the caliper off the rotor. Don’t let the caliper hang by the brake line; use a wire to hang it from the suspension.
- Replace the Pads: Remove the old brake pads and insert the new ones. Use a C-clamp to compress the caliper piston before reinstalling the caliper.
- Reassemble: Reattach the caliper and wheel, then lower the car.
Tips:
- Check your owner’s manual for the recommended brake pad thickness and replacement intervals.
- Avoid driving immediately after replacing the pads; let them settle by braking gently for the first few miles.
7. Changing the Battery
Why It’s Important:
A healthy battery is essential for starting your car and powering electrical systems.
How to Do It:
- Gather Supplies: You’ll need a new battery, a wrench set, and safety gloves.
- Locate the Battery: It’s usually found under the hood or in the trunk.
- Remove the Old Battery: Disconnect the negative terminal first, then the positive terminal. Remove any hold-down clamps and lift the battery out.
- Install the New Battery: Place the new battery in the tray and secure it with hold-down clamps. Connect the positive terminal first, then the negative terminal.
Tips:
- Check for corrosion on the battery terminals and clean them if necessary.
- Recycle the old battery at an auto parts store or recycling center.
8. Replacing Cabin Air Filter
Why It’s Important:
A clean cabin air filter ensures that the air inside your car is fresh and free of pollutants.
How to Do It:
- Locate the Filter: It’s usually behind the glove compartment or under the dashboard.
- Access the Filter: Remove the glove compartment or the cover panel to access the filter housing.
- Replace the Filter: Remove the old filter and insert the new one, making sure it’s oriented correctly.
Tips:
- Replace the cabin air filter every 15,000 to 30,000 miles or as recommended by your manufacturer.
- Use a high-quality filter for better air filtration.
9. Flushing the Radiator
Why It’s Important:
Flushing the radiator removes old coolant and prevents overheating, ensuring your engine runs efficiently.
How to Do It:
- Gather Supplies: You’ll need coolant, a radiator flush solution, a funnel, and a drain pan.
- Drain the Old Coolant: Place the drain pan under the radiator, open the drain valve, and let the old coolant drain out.
- Flush the Radiator: Close the drain valve, fill the radiator with the flush solution and water, and run the engine for 10 minutes. Drain the solution.
- Refill with Coolant: Close the drain valve again and refill the radiator with the new coolant.
Tips:
- Check your owner’s manual for the recommended coolant type and flush intervals.
- Dispose of old coolant properly by taking it to a recycling center.
10. Inspecting and Replacing Fuses
Why It’s Important:
Fuses protect your car’s electrical system from damage due to overloads. A blown fuse can cause electrical components to stop working.
How to Do It:
- Locate the Fuse Box: It’s usually under the dashboard or in the engine compartment.
- Identify the Blown Fuse: Use the diagram on the fuse box cover to locate the fuse associated with the malfunctioning component. Check if the metal strip inside the fuse is broken.
- Replace the Fuse: Pull out the blown fuse and replace it with one of the same amperage.
Tips:
- Keep spare fuses in your car for easy replacement.
- If a fuse blows repeatedly, there might be an underlying electrical issue that needs professional attention.
DIY car maintenance is not only cost-effective but also empowering. By performing these simple tasks at home, you can keep your car running smoothly and extend its lifespan. Always consult your owner’s manual for specific instructions and recommended maintenance intervals, and don’t hesitate to seek professional
help for more complex issues. With a little effort and knowledge, you can become proficient in maintaining your vehicle and enjoy the satisfaction of keeping it in top shape.


